In this article i’m going to set up a new configuration.
1 – Windows Server 2019 with :
Active Directory, File Server, Share Point Server.
An inventory and ticketing tool (next article).
2 – Then we’ll see a method to build images for a rapid deploy.
3 – And finaly I’ll build a small intranet site (HTML & CSS) with React (next article).
——————–
Here I use Windows Server 2019 standard edition. First we have to install the AD DS role to manage the users, groups and GPO. After I’ll install File Server role.
For Share Point Server 2019 I have to install SQL Server 2019 :
Choose New SQL Server Stand-Alone Installation and then select Database Engine Services. After that, select Mixed Mode and choose a password for « sa ».
If you want you can install SQL Server Management Studio.
To install Sharepoint Server, first select the Prerequisite Installer, it will install all you need to run Share Point Server properly. Then you can run the setup.
After that it’s important to run the SharePoint Products Configuration Wizard :
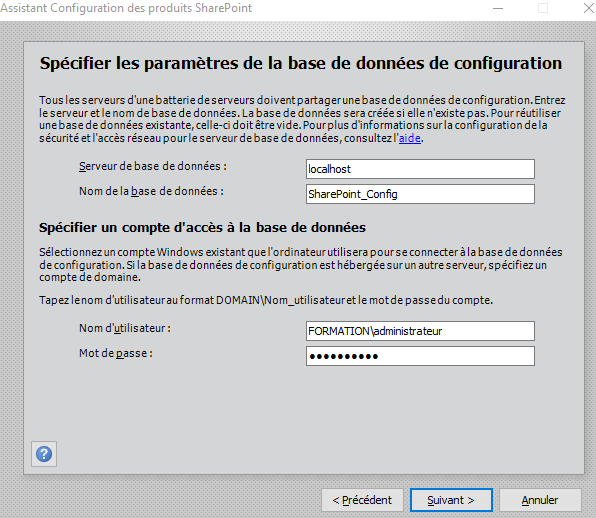
The assistant will ask you some questions, select a passphrase and for our tests select Single-Server Farm. Then choose a port or let the assistant choose a port for you.
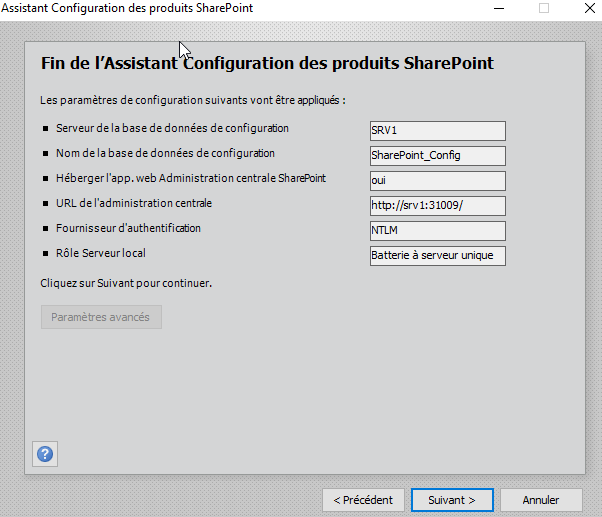
Now you can run Share Point Server with http://srv1:31009
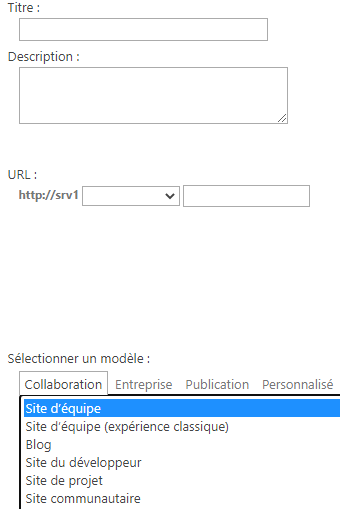
Here use the assistant to build your first site, in my case i will name this site « Commun » :
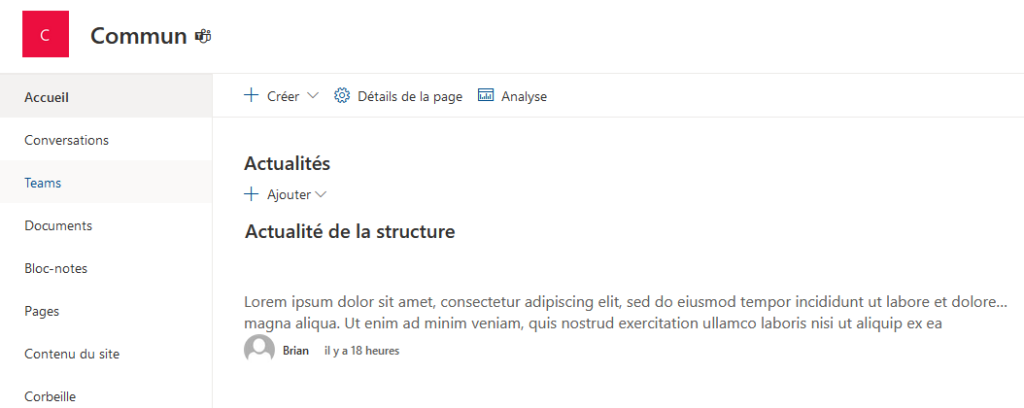
That’s ok, we have access to our site :
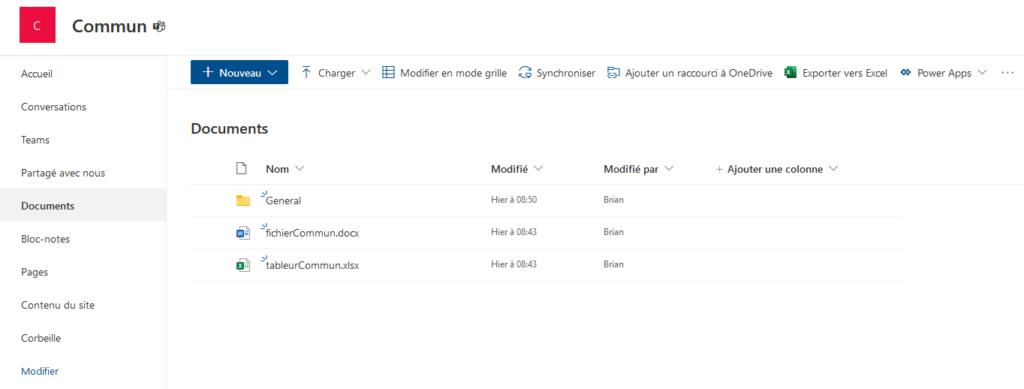
For our test I create a folder called Commun. This folder will be use for our colleagues. With Share Point you can add your documents in this folder :
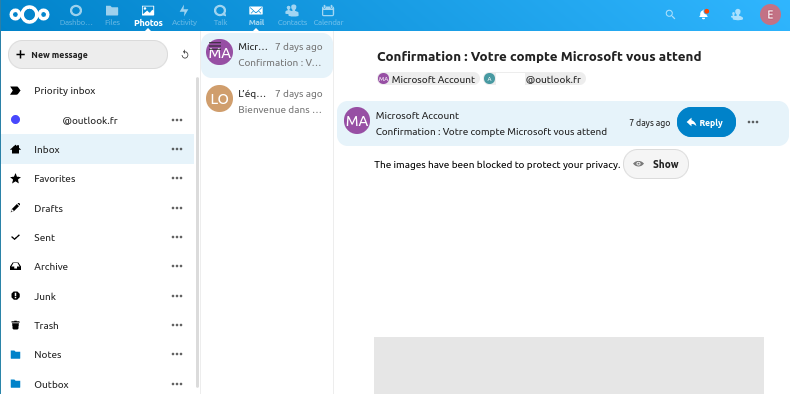
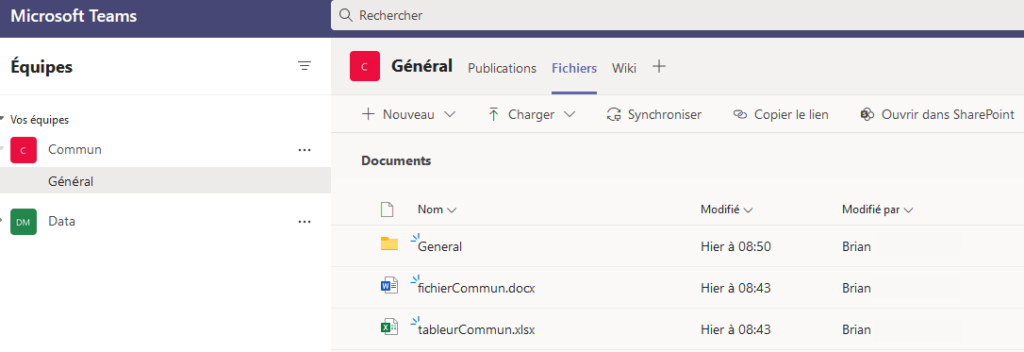
You can find these documents in Teams :
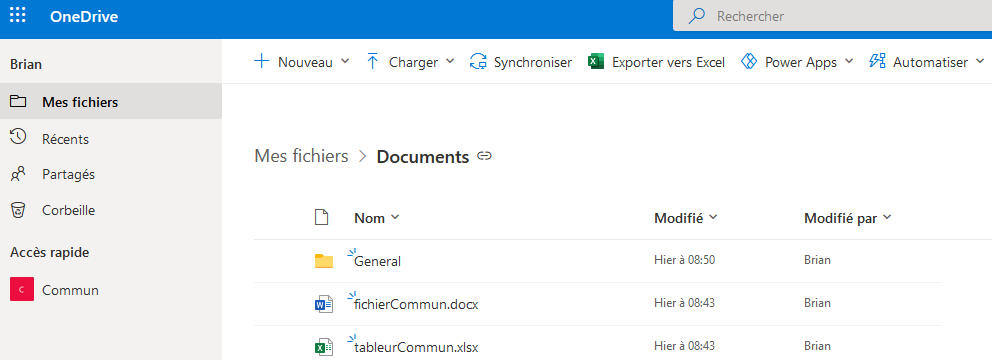
You can also add this folder and documents into your One Drive :
——————–
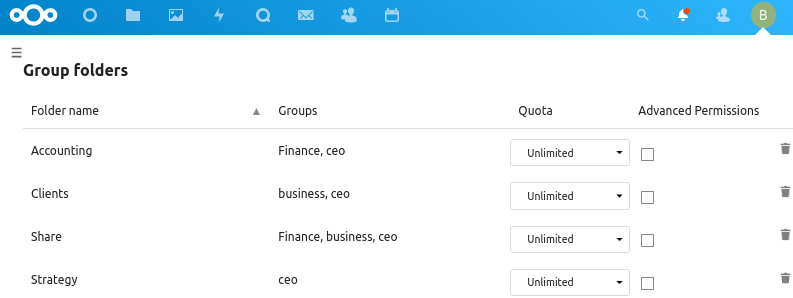
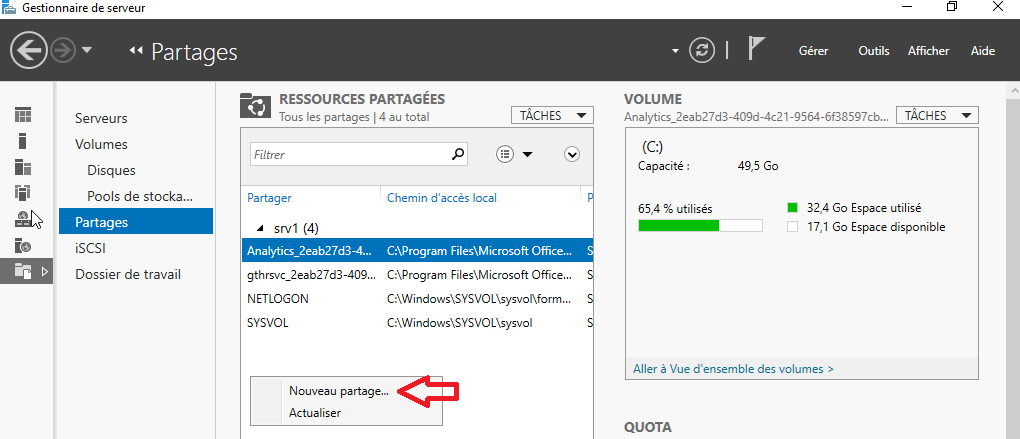
We decide to create a separate folder just for the IT team, not in the Share Point Server, but directly on the File Server (Windows Server – File Server Role).
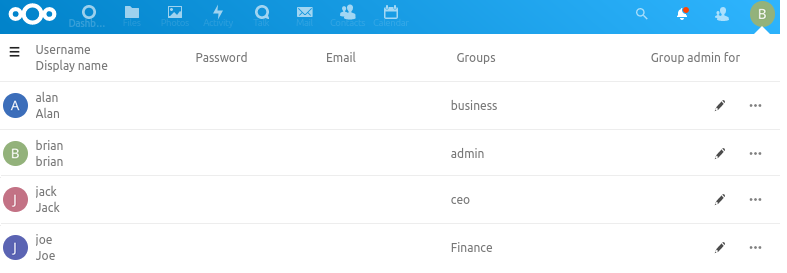
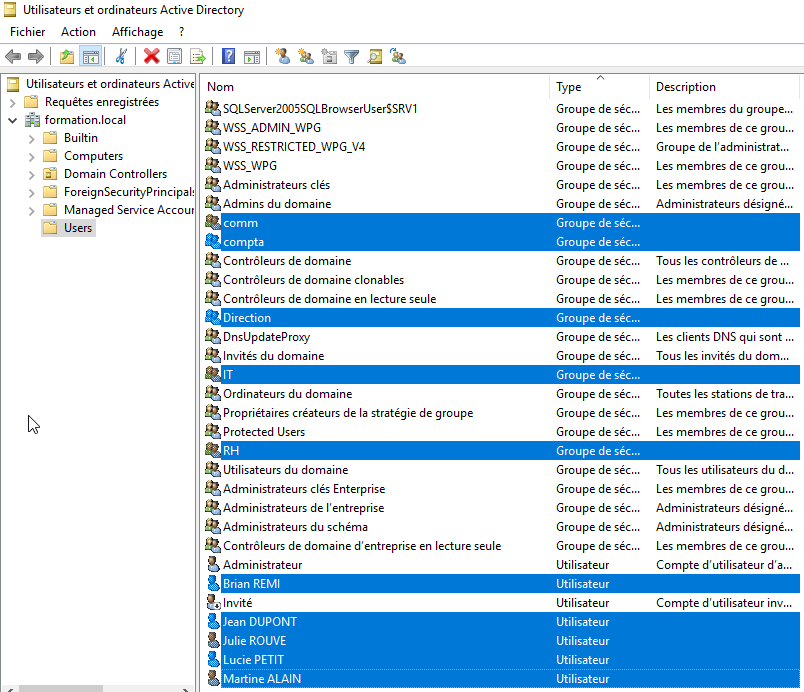
Before that, let’s see which groups and users i’ve created :
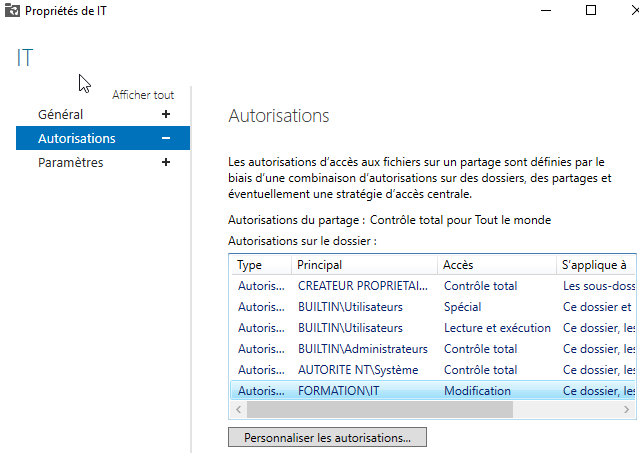
In the next screen, I choose the IT group who can modify the folder :
Now, connect with the user « brian » from his machine and you can see the access is ok :

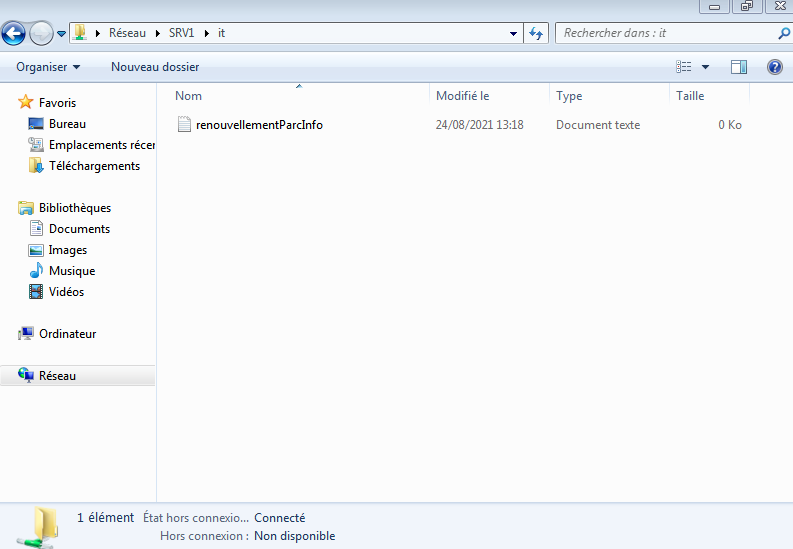
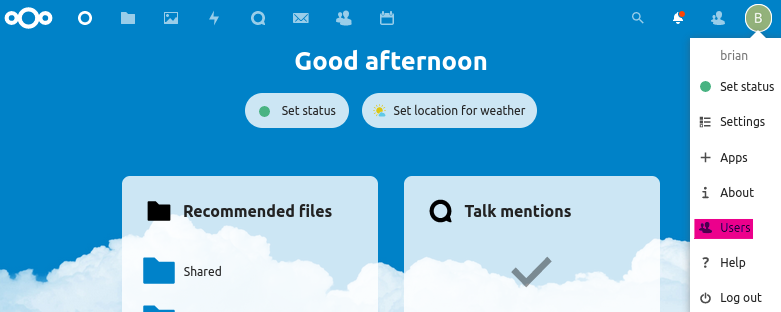
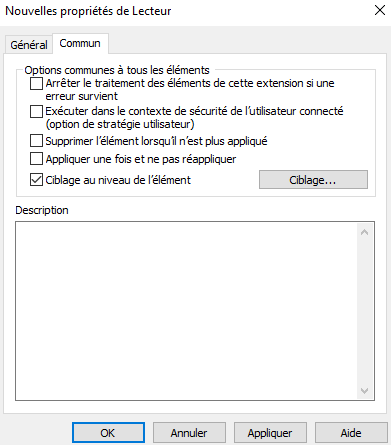
For security reason I choose to block the control pannel by creating a GPO :
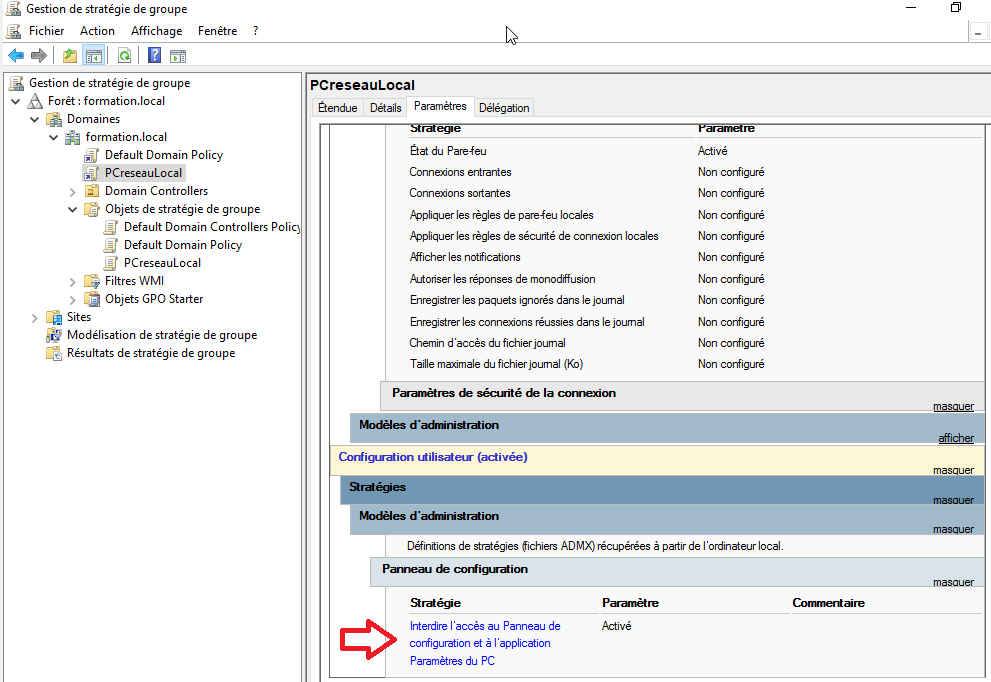
Now we can see from the user PC that we don’t have access to the control panel :
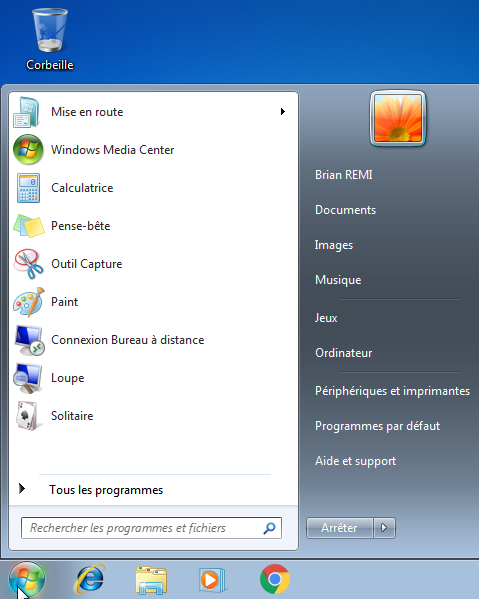
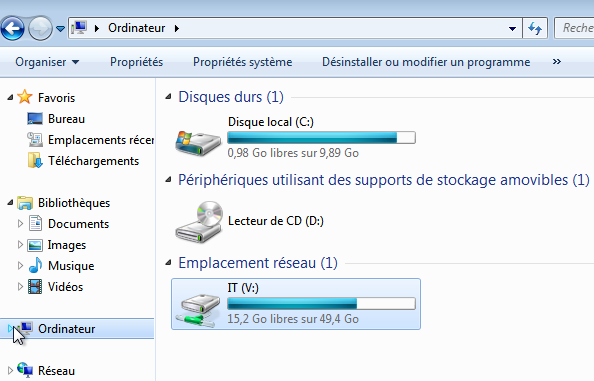
For convenience let’s create a GPO wich add a network drive IT (V:) for the user Brian :
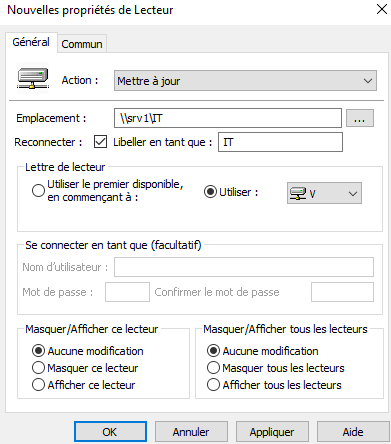
Now, i’m connecting from brian’s PC and I can see the network drive :
——————–
Now let’s see how to create an image of Windows 10 to deploy easily this OS on new PC.
Get the ISO of Windows 10 with the Support Creation Tool that you can find on the Microsoft Website.
Once you have the ISO, create a bootable USB with Rufus (it is a free software).
Next, I take a PC that I will use to create the image.
In this PC execute the command :
c:\Windows\System32\sysprep\sysprep.exe /audit
The PC now restart in audit mode. In this mode prepare Windows in a way you want to find it for your next deployments (programms installed, preferences, etc.)
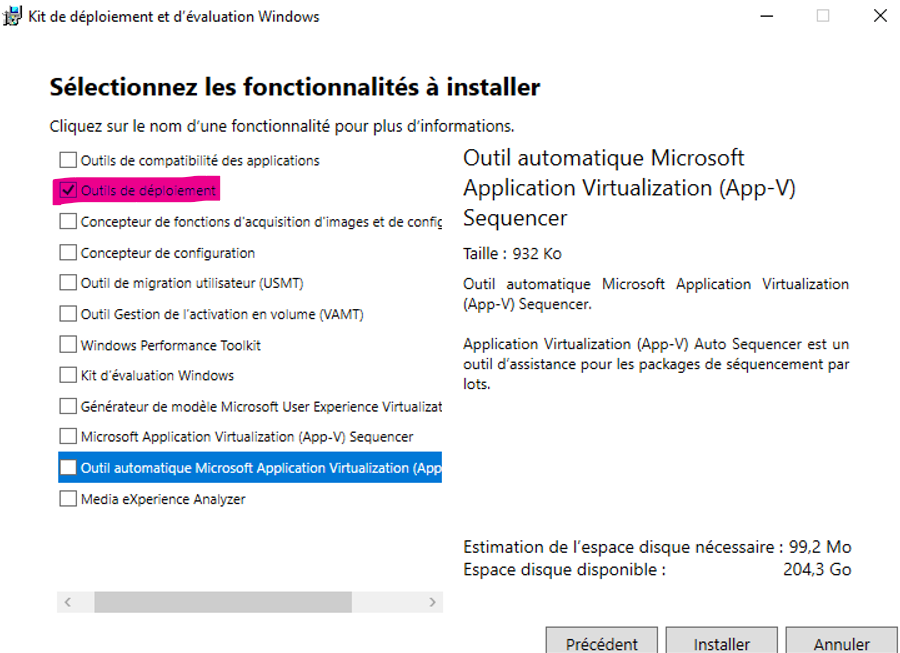
Once it’s ready, download and install Windows ADK program (from Microsoft website) and select :
Now go to your USB disk, and copy / paste this file d:\Source\install.esd to C:\Windows\System32\Sysprep
Run Powershell as admin and go to C:\Windows\System32\Sysprep\ and run this command to find your Windows version :
dism /Get-WimInfo /WimFile:install.esd
Now run :
dism /Export-Image /SourceImageFile:install.esd /SourceIndex:6 /DestinationImageFile:install.wim /Compress:Max /CheckIntegrity
Now you have your install.wim file in C:\Windows\System32\Sysprep\
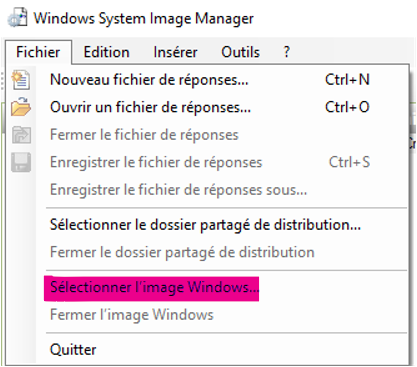
Now run Windows System Image Manager (already installed in Windows) and select your install.wim here :
Answer « Yes » when the system ask you about the catalog.
Now the goal is to build your answers file of the Windows installation. To do it let’s see one example. Still in Windows System Image Manager right click here :
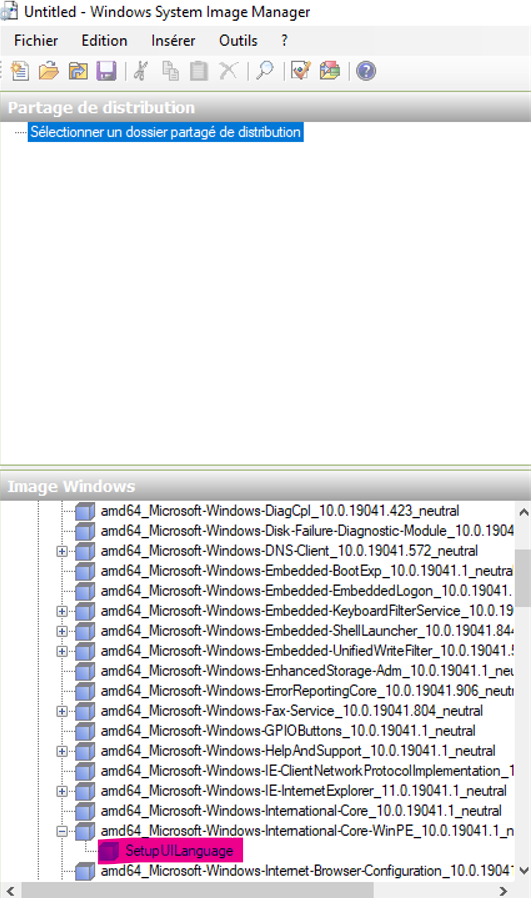
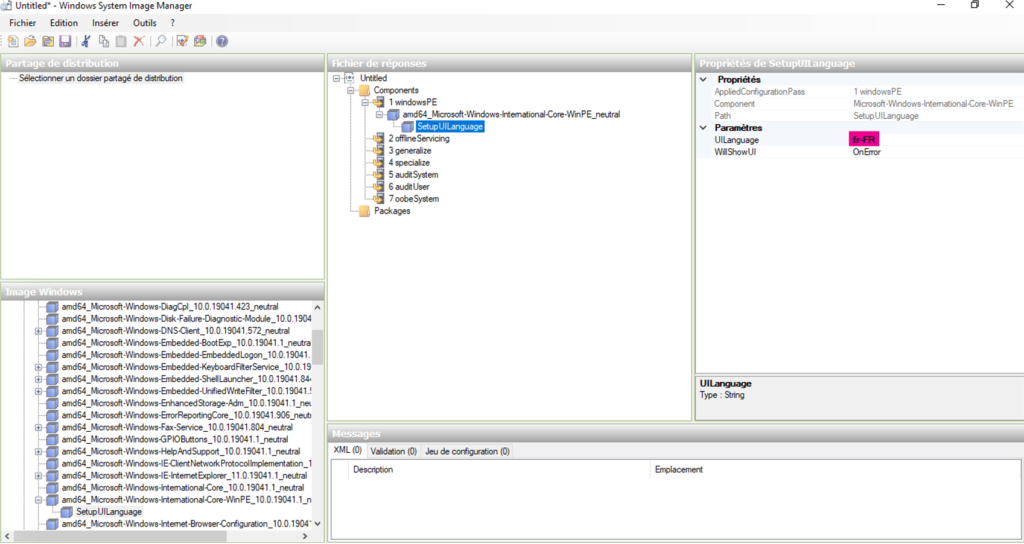
And select Add Settings to Pass 1 windowsPE
Now the option appears on the right and you can specify the language used for the installation :
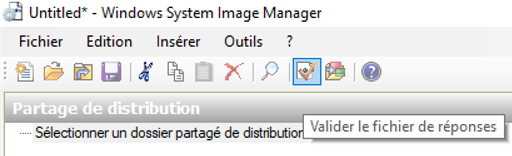
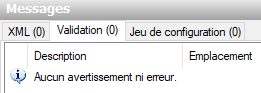
Once you’ve done all your settings click here to validate the XML file :
Now save the file in your Sysprep folder :

And name it unattend.xml
Run CMD as admin and go to c:\windows\system32\sysprep\
And run sysprep /generalize /oobe /shutdown /unattend:unattend.xml
This command means that the PC will start in installation mode for the next boot. This command shuts down the PC.
To finish we have to capture the image of this PC.
Boot from USB Windows installation (not from the hard drive !). When it’s done type Shift F10 to run Windows PE.
And run :
Dism /Capture-Image /ImageFile:c:\windowsCompany.wim /CaptureDir:C:\ /Name: »My Windows Company »
This create the windowsCompany.wim file.
Now start the PC, once you are in Windows copy all the file of your USB Windows Installation to a folder (create a new one) on your hard drive. And copy in Source the windowsCompany.wim , also delete install.esd
To finish we just have to create a ISO file from this folder. You can take the program you want on the web to do it.
That’s it, you have an ISO of Windows 10 to deploy.